How to configure Telestream's Wirecast Encoder with QuickTime
Before you start:
Verify your upload capacity by using www.speedtest.net. Upload capacity is a very important factor in streaming as this determines the maximum bitrate available to stream;generally we recommend to have at least 1.5x their bandwidth available for broadcasting. For example, if you have 1mbit upload, we recommend a maximum bitrate should be 512k but lower is preferred.
For a complete procedure, please refer to the following article: How do I test upload connection speed?
Procedure:
Step 1. Download Wirecast from http://www.telestream.net/wire-cast/overview.htm
Step 2. Install by double clicking the file you download, and following the Setup Wizard.
Step 3. Load Wirecast from your Start Menu.

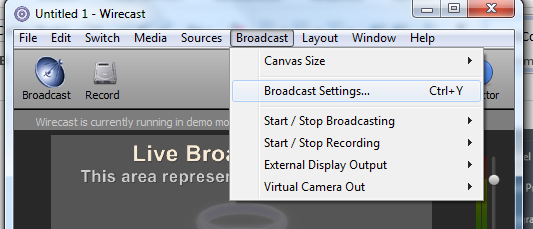
Step 4. Select the "Broadcast" menu and then “Broadcast Settings”.
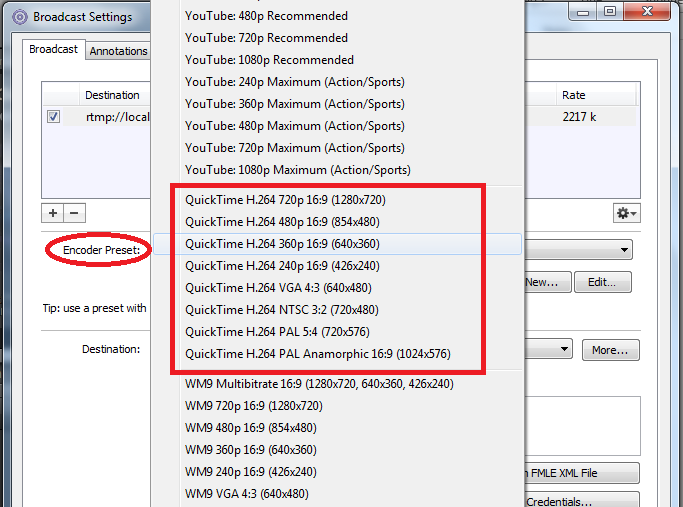
Step 5. On the Encoder Preset, select your desired “QuickTimePreset”.
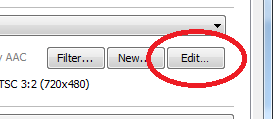
Step 6. Click on the “Edit” button to change the Preset Settings.
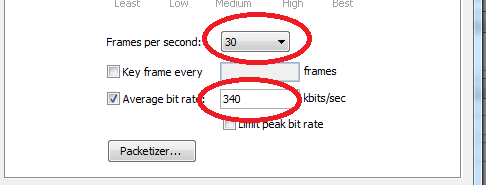
Step 7. You can proceed to make your desired changes. We suggest that you only make changes on the “Frames per Second”and the “Average Bitrate”fields but if required, you can make the changes on the other ones. Click on Close when done.
Step 8. On the “Destination” dropdown menu, it should sayAnnounce to QuickTime Streaming Server.

Step 9. Find the details for your setup in your email - Subject; “Your Live QT Stream is ready to go!"
Step 10. Copy the details from your e-mail; Hostname, File Location, Username &Password.
Step 11.With Broadcast over TCP (Unchecked this mean the traffic is sent as UDP, which will be faster the TCP, if you are behind a firewall you may want to check this option).
Step 12. Now click on the "Save" button to save this encoding profile.
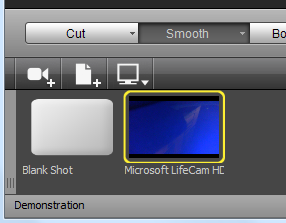
Step 13. Proceed to select your Video/Audio source.

Once you have selected your source, make sure that you have selected it.
Step 14. Now select the "Broadcast" menu >Stop / Start Broadcasting and choose to start the profile you just saved.
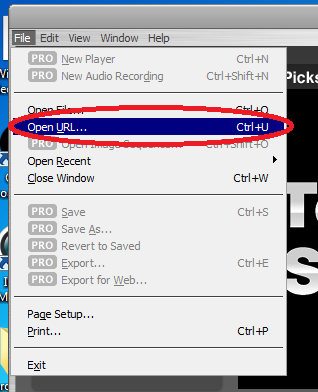
Step 15. You can now view your stream in Quicktime Player, copy the view link from your set up e-mail, and enter in to Quicktime Player.
Click "File >Open URL", enter your stream address, click "Ok".
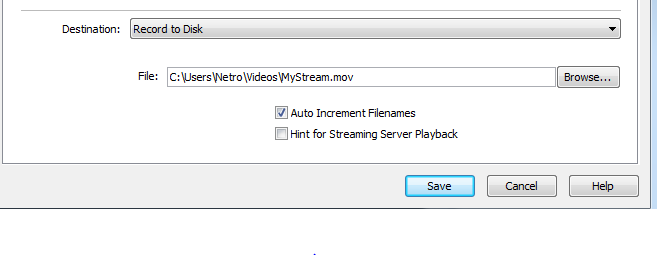
Step 16. If required, you can save your Live Broadcast on to your Hard Drive just by clicking on the “Record” button on WireCast.

Step 17. Make your changes and Save.
Other FAQ's you might be interested:
If you found this FAQ helpful please rate it using the stars below: