Para Español, de clic aquiHow to: Stream your desktop with Adobe Media Encoder and Manycam
Purpose:
The purpose of this article is to explain the procedure that must be taken to be able to stream your machines desktop to your audience using Adobe Media encoder and Manycam. Also, with this procedure you will be able to configure your microphone in case you are looking to stream your desktop and speak at the same time or stream an Audio Playlist.
Procedure:
Step 1. Please download the Manycam application from the following link and proceed to install using the installation wizard: Download Manycam
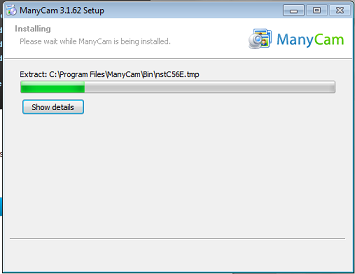
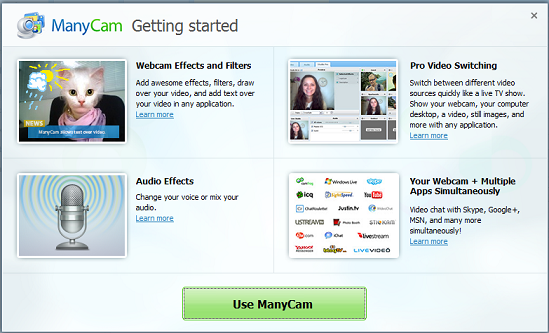
Step 2. You can skip the “Manycam getting started” Window by clicking on Use ManyCam.
Step 3. Click on the Sources Tab located on the left side of the ManyCam Window.
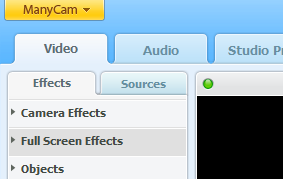
Step 4. Click Desktop to be able to configure the desktop settings.
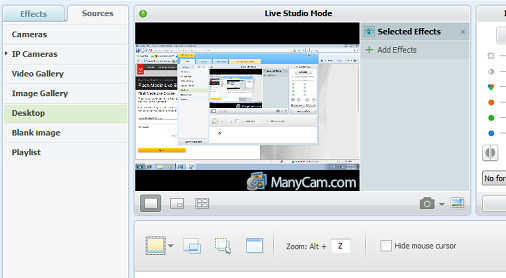
Step 6 – Proceed to select your desired desktop selection which are the following:
- Capture entire Desktop
- Capture area around cursor
- Capture customer desktop area
- Capture area of application
Step 7. You may want to experiment with the other options to see what fits your requirements.
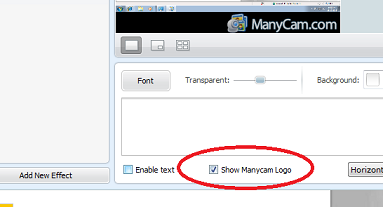
Step 8. If you wish to remove the ManyCam logo, click on Effects and remove the check mark saying “Show Manycam Logo”.
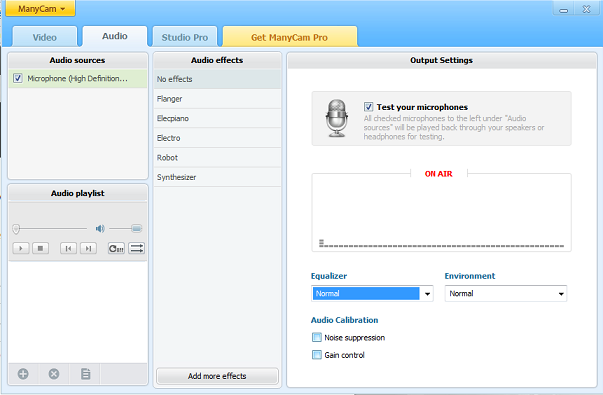
Step 9. To be able to configure your microphone or Audio Playlist, click on the Audio tab and make the proper adjustments as needed.
Step 10. Once you have made your changes, you can now configure your encoder using the following FAQ article.
Step 11. Make sure that you have selected Manycam on the Video and Audio source if needed.

Step 12. Once you hit the start button on the encoder, your stream you be working.
Other FAQ's you might be interested:
If you found this FAQ helpful please rate it using the stars below: