Windows Media Encoder Push Configuration
Purpose:
The purpose of this article is successfully guide you through the process on setting up your Windows Media encoder using the PUSH method.
Note: Windows Media Encoder is no longer available or supported by Microsoft;the new encoder provided is Microsoft Expression encoder. Instructions on obtaining this encoder and downloading it can be found here:How to: Configure Microsoft Expression Encoder
To start a live "Push" stream with Windows Media encoder:
Step 1 - Install the encoder, available here;http://download.cnet.com/Windows-Media-Encoder/3000-2212_4-14887.html
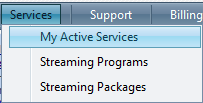
Step 2 - Log in to the NetroPortal & click on "My Active Services" from the right side of the menu
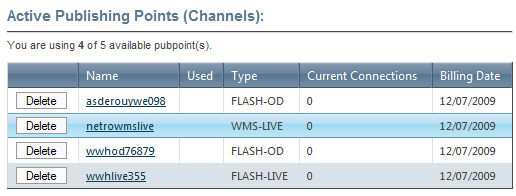
Step 3 - Select your Live Windows Media Service (Type=WMS-Live)
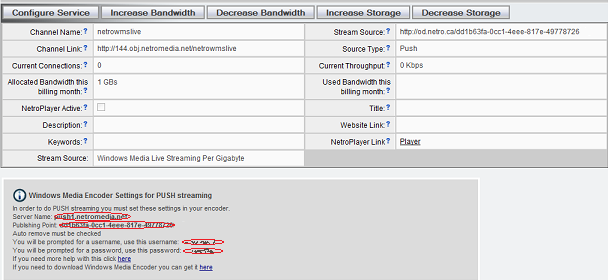
You will require the information from your Service Detail to properly configure your Encoder (areas circled in red)
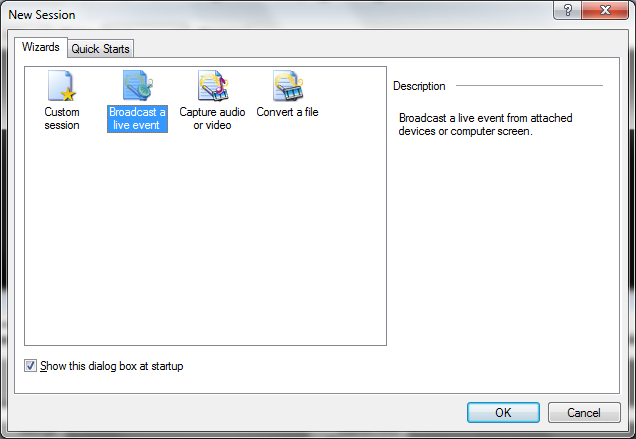
Step 4 - Start the encoder and double click "Broadcast a Live Event".
Step 5 - Select your source(s): audio and/or video.
- If you have more than one sound card you can select it from the list, make sure you select the sound device that your audio signal is connected to
- When plugging in an external audio source, like an Audio Mixer, use the Line In or Mic port on your sound card - follow this FAQ for more info - Line-In vs Mic-In
- If you are NOT using an external audio source, but want to play music from your PC, follow these 2 FAQ entries
Configuring your Audio Device to pick up your Outbound Sound
Configuring Windows Media Encoder to use Stero Mix
Step 6 - Select the "Push to a Windows Media Server".
- Enter your information as detailed in the Service Detail screen of your Active Service
- You will also see a "checkbox"that says "Remove publishing point automatically". Please check this box.
Step 7 - Select your bit rate.
Step 8 - The next window asks if you would like to archive a copy of the broadcast to your hard drive. Only select this option if you:
- have plenty of hard drive space
- have sufficient processing power (this option takes a significant toll on your processing capability)
- require an archived copy of what you are broadcasting
Step 9 - Enter the "Display Information"
- The enclosed stream information will show up in the Windows Media player window of your listeners computer screen.
- Title: The name of your stream
- Author: The name of your stream author
- Copyright: Any relevant Copyright information you wish your users to see
- Rating: The stream's rating Description: Any additional information you wish to include Click next when you have put in all the information
Step 10 - "Settings Review"This window allows you to review your settings before you begin to broadcast live.
Step 11 - Enter "Broadcast Password" - This is where you will need to put in your username and password as supplied to you by NetroMedia, again, these are detailed in the Configuration of your Active Service:
Step 12 - Click the "Remember Password"checkbox for future convenience. Now click Ok.
You can connect to the stream with either of the following link detailed in Active Service as "Publishing Point Link".
At this point you may receive a warning regarding stream announcement, you can disregard this notice and continue.
Step 13 - You are now ready to start streaming! Located on the top toolbar there should be a green button that says "Start Encoding".
When you are ready to start encoding press this button and you are live.
Things to look for: You should see your audio bars moving up and down. If they are not working, click the mixer button below the audio bars and try selecting different channels on your soundcard.
You want to make sure your CPU load is below 50% (you can find this indicator in the bottom right) You should also take note of your total bit rate You should see a set of 5 small green bars moving horizontally across the bottom of the encoder window.
Now, Save your Session, so the next time you load Windows Media Encoder, all of your previous settings are stored! Follow this FAQ for instructions - Saving your Session in Windows Media Encoder.
Testing Your Live Stream Open your Windows Media Player and click on ‘File’then ‘Open URL’. Enter your publishing point link. Click "Open"You should either hear or see your stream.